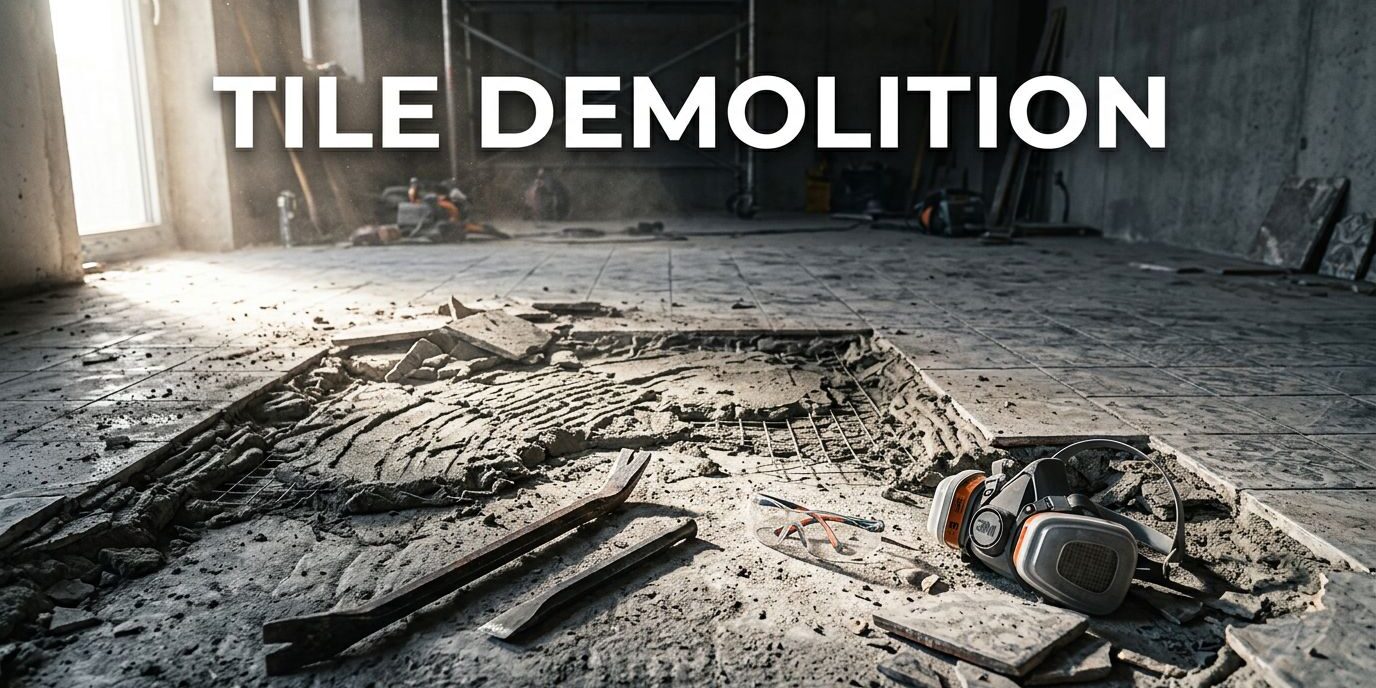
Tile floor demolition looks straightforward until the first section refuses to release. The work becomes even more demanding when old ceramic tile is bonded to a concrete slab with thick thinset mortar, a mortar bed, or wire reinforcement.
If your project involves work to remove floor tile in a kitchen, bathroom, living area, lanai, or commercial space, inspect what lies beneath it. I always recommend checking the floor assembly before you remove floor tile across a large area, because the visible tile is only one layer of the system.
Key Takeaways
- Inspect the floor assembly before starting tile demolition, because thick mortar beds, underlayment, wire reinforcement, and slab conditions can change the scope of work.
- Protect the room, control dust, disconnect plumbing safely, and wear appropriate eye, respiratory, hearing, hand, and knee protection.
- Use hand tools for small areas and loose tile, but consider properly controlled power equipment for thick mortar beds, stubborn thinset, reinforced assemblies, or large spaces.
- After removing the tile, inspect the concrete slab for cracks, moisture, movement, uneven areas, and installation problems before installing a new floor.
- Include surface preparation, cleanup, debris disposal, fixture removal, and slab repairs when comparing tile removal estimates.
What to Inspect Before You Remove Floor Tile
Before I begin, I look at the room, tile pattern, nearby transitions, grout lines, plumbing fixtures, and visible cracks. A straight crack crossing several tiles may point to movement in the concrete slab, while one broken tile near a doorway may come from impact. Visible damage also helps me plan tile removal.
I check whether the floor is installed directly over the structural subfloor or over another layer. You may find clues at a floor vent, doorway threshold, toilet opening, closet edge, or damaged tile. An underlayment can sit between the tile and subfloor. Concrete feels solid and continuous beneath the tile. Plywood underlayment usually reveals wood grain, fasteners, or a separate sheet layer.
A ground-floor Florida home often has a concrete slab, but that doesn’t mean every flooring assembly is identical. Some areas may include old leveling material, adhesive, or another separate layer. Opening a small test area before you remove floor tile can reveal how the floor was assembled and prevent the wrong tool choice.
Preparing the room and protecting the home
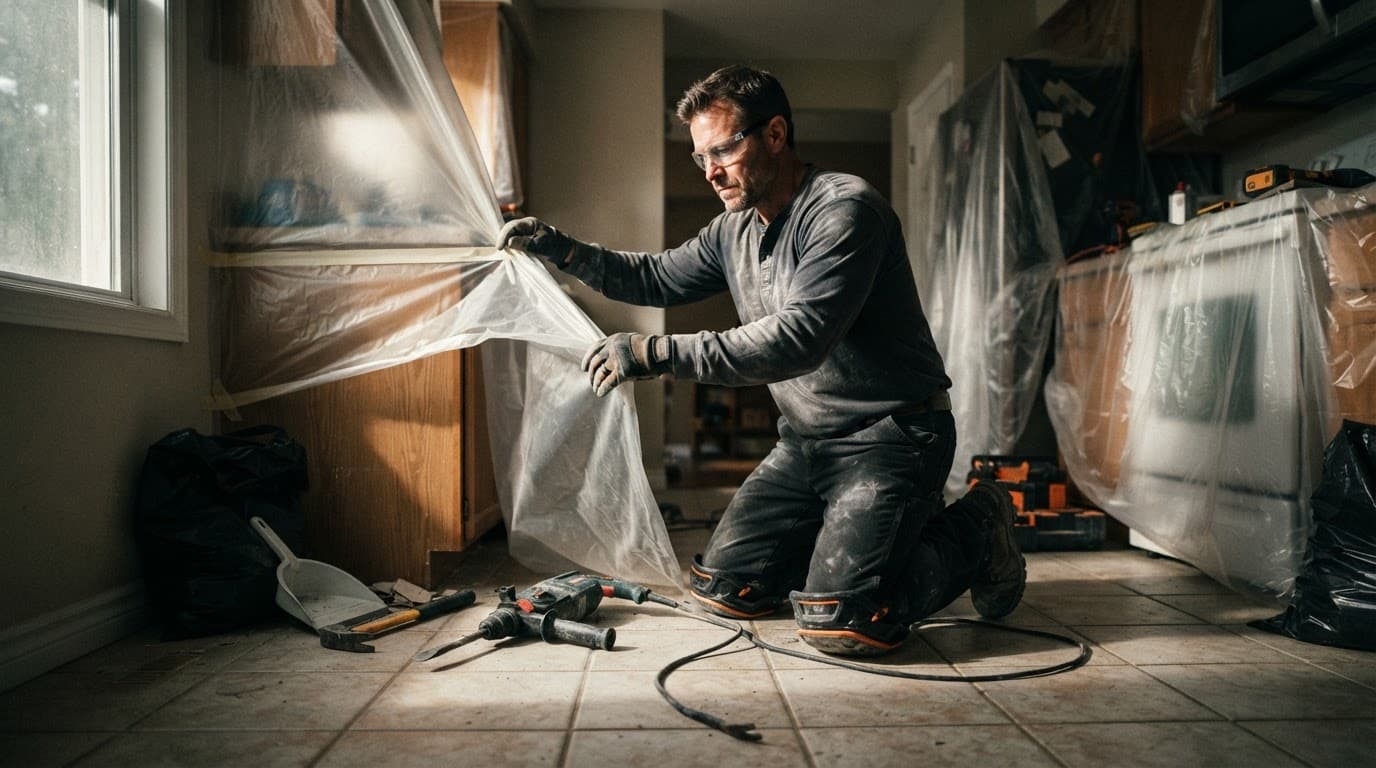
I remove furniture, wall decorations, rugs, and anything that can collect dust. I also keep knee pads nearby and protect cabinets, doors, baseboards, nearby walls, and finished flooring with heavy plastic, a drop cloth, floor protection, and strong tape.
Turn off the water supply before disconnecting plumbing, and shut down the HVAC system if possible. Cover or seal supply and return vents so fine dust doesn’t circulate through the home. A HEPA-rated vacuum, including a properly equipped shop vac, makes a noticeable difference in occupied homes and businesses.
Wear the right protection throughout the work:
- Use safety goggles or a face shield against flying chips.
- Wear a properly fitted respirator rated for fine construction dust.
- Use hearing protection around powered demolition tools.
- Put on work gloves, sturdy boots, and heavy-duty knee pads.
- Keep the work area clear so loose debris doesn’t create a trip hazard.
Disconnecting a bathroom toilet
A toilet needs to come out before I can remove floor tile around the fixture and reach the entire bathroom floor. This is an important part of the bathroom demo process. First, close the water supply shutoff valve, flush the toilet, and use a sponge or wet vacuum to remove remaining water from the tank and bowl.
Disconnect the supply line, remove the nuts at the floor bolts, and gently rock the toilet to break the wax seal. Toilets are heavy and awkward, so use two people when lifting one. Set it on protected cardboard or a moving blanket.
After removal, cover the open drain with a temporary cap or sturdy cover to block sewer gas and keep debris out. The old wax ring should be replaced during reinstallation. If the flange is cracked, loose, or sitting too low after the work, stop before installing new tile and have the plumbing connection evaluated.
How Installation Method Changes the Work
The first few tiles usually reveal how the original floor was installed and how difficult the tile removal will be. A thin layer of mortar under well-bonded tile can often be handled with a pry bar for edge work and a hammer. Some assemblies also have a separate underlayment over the structural subfloor, with plywood underlayment used in certain installations. Older installations may be a completely different project.
A tile floor installed over a thick mud bed can include several inches of mortar, metal lath, or chicken wire. The tile may come off in pieces while the bed remains firmly attached to the slab. In that situation, the work involves breaking the bed into manageable sections, cutting or bending the wire, and removing the heavy material without gouging the concrete below.
The hardest part of an old tile floor is often not the tile. It is the material that was installed beneath it.
I use a small test area before deciding whether hand tools or power tools can remove floor tile efficiently. If the tile releases easily and the mortar layer is thin, manual removal may make sense for a small room. When every piece requires repeated striking, trying to remove floor tile by hand becomes slow, tiring, and more likely to cause an injury.
Choosing between hand tools and power equipment
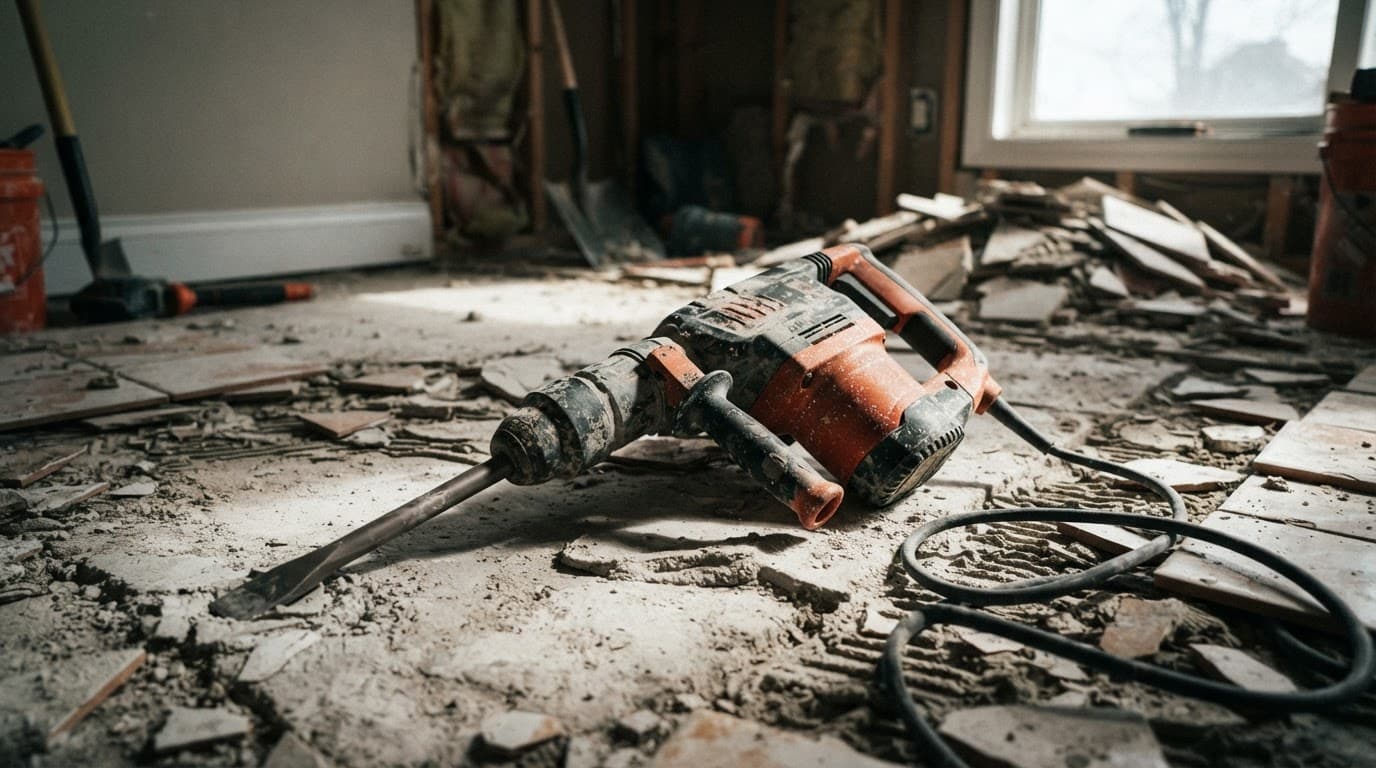
A hammer drill with a tile chisel can help at corners and small stubborn areas. A floor scraper is useful for lifting loose pieces. For broad areas, a demolition hammer with a wide tile chisel usually provides better control and speed.
I consider renting heavy equipment, including a demolition hammer, when the floor has a thick mortar bed, multiple bonded layers, wire reinforcement, or a large area. A 30-pound-class machine can break stubborn material, but it is heavy and powerful. It can also damage the slab if the tool is held at the wrong angle or forced too deeply.
For stubborn thinset mortar, the usual tools include a rotary hammer, a floor scraper for shaving away remaining adhesive, and a concrete grinding tool with dust collection. Grinding should be the last step needed to create a clean, flat surface, because it produces fine silica dust. A professional setup uses the correct shroud, vacuum, and respiratory protection.
The Removal Process on a Concrete Slab
Once the room is protected, I begin at an exposed edge, doorway, or removed fixture location to remove floor tile. Breaking the first tile with a chisel creates a starting point. From there, I keep the chisel at a low angle so it slides beneath the tile instead of driving into the slab. If tiles resist hand removal, I may use a demolition hammer carefully around the slab.
During tile removal, I clear debris continuously instead of leaving piles across the room. Ceramic tile debris is sharp, and old mortar is extremely heavy. Keeping the area clear makes it easier to see cracks, plumbing openings, control joints, and areas where the slab has separated.
After I remove floor tile, I inspect the remaining thinset and exposed subfloor. Loose ridges and high spots need to be removed. A new tile installation requires a clean, adequately flat surface, but the slab doesn’t need to look polished. The goal is to remove weak, loose, contaminated material without creating unnecessary gouges.
At this stage, I look for:
- Cracks that continue across the slab or follow several tile joints.
- Areas with vertical movement, loose concrete, or hollow-sounding sections.
- Moisture staining, adhesive residue, or signs of previous water intrusion.
- Control joints that must be respected in the new tile layout.
- Incorrect slopes, especially on lanais, patios, and pool-adjacent floors.
Cost to Remove Tile and Debris Disposal
The cost to remove tile depends on more than room size. A straightforward project over a sound slab costs much less than a bathroom where crews must remove floor tile over a thick mud bed, around fixtures, and in tight spaces. Extensive surface preparation and several debris loads raise the estimate further.
As a broad planning figure, professional tile removal often falls near $1 to more than $5 per square foot. That range is not a fixed price. Local labor, access, floor layers, disposal, dust control, and slab repairs can move the estimate in either direction.
| Project condition | What usually increases the cost |
|---|---|
| Tile bonded directly to concrete | Basic labor and ordinary debris handling |
| Thick mortar bed or wire mesh | Heavy equipment, slower removal, and added labor |
| Bathroom demo | Toilet removal, plumbing protection, and tighter access |
| Large residential or commercial area | Each additional square foot adds hauling, floor protection, and scheduling demands |
| Damaged slab or excessive thinset | Surface preparation, repairs, or moisture testing |
Ask a professional contractor whether the written estimate includes underlayment removal and labor to remove floor tile. Confirm that it covers thinset scraping, fixture removal, haul-away, disposal fees, cleanup, and slab preparation. A low removal price may not include the work needed before new tile can be installed.
Tile and mortar are dense, so overloaded bags can tear and become unsafe to carry. I prefer sturdy bins, contractor tubs, or properly rated containers, with loads kept manageable. Debris should not go into regular household recycling or trash unless the local provider allows it.
Rules for debris disposal vary by municipality and hauler. Check the requirements for your transfer station, or hire a contractor whose scope includes legal disposal. The person arranging the dumpster or haul-away service is responsible for knowing what materials the facility accepts.
When the Slab Needs More Than Scraping
Tile removal is also an inspection opportunity. After I remove floor tile, the open surface may reveal why the old installation failed. Heat, humidity, moisture, sand, poor drainage, and normal movement can expose weak installation details in Southwest Florida homes.
A crack-isolation membrane may help with minor, non-structural cracks. It cannot correct foundation movement, significant settlement, an offset crack, or an active moisture problem. Those conditions need attention before any new tile is installed.
Moisture can weaken the bond when it reaches the slab through cracks, poor drainage, or an improperly sealed area. On an exterior floor, standing water adds stress during repeated wetting and drying. A waterproof membrane cannot fix the wrong slope, and tile cannot make water drain away from a home.
I also check for installation issues that may have caused premature failure:
- Tile installed over dust, paint, an uneven surface, or damaged concrete.
- Voids beneath the tile caused by poor mortar coverage.
- The wrong mortar for the tile or location.
- Missing movement joints or perimeter space.
- Lippage, which leaves uneven tile edges and creates trip points.
If you see water intrusion, wide cracks, vertical displacement, or movement in the slab, don’t cover the problem with a new floor. A professional contractor should identify the cause first. At Distinctive Tile & Marble of SWFL Inc., I prefer to identify the cause, then recommend the right preparation, membrane, mortar, and tile system for the space.
Frequently Asked Questions
How do I know what is beneath my tile floor?
Inspect exposed areas near vents, doorways, toilet openings, closet edges, or damaged tiles. A small test area can reveal whether the tile is bonded directly to concrete or installed over thinset, a mortar bed, underlayment, or wire reinforcement.
Can I remove floor tile from a concrete slab myself?
Small areas with loose tile may be manageable with a hammer, chisel, pry bar, and floor scraper. Thick mortar beds, reinforced assemblies, large rooms, and stubborn bonded tile often require heavy equipment, dust control, and experience to avoid damaging the slab or causing injury.
Do I need to remove the toilet before bathroom tile demolition?
Yes, removing the toilet allows the entire bathroom floor to be reached and prevents tile from being left around the fixture. Shut off and disconnect the water, cap the open drain after removal, and replace the old wax ring during reinstallation.
What should I inspect after removing the tile?
Look for cracks, vertical movement, loose or hollow concrete, moisture staining, adhesive residue, control joints, and incorrect slopes. These conditions should be addressed before new tile is installed, especially when the slab shows movement or water intrusion.
How much does professional tile removal cost?
Professional tile removal often falls near $1 to more than $5 per square foot as a broad planning range. The final cost depends on access, floor layers, mortar thickness, fixture removal, surface preparation, disposal, dust control, and any slab repairs.
Conclusion
How you remove floor tile depends on the installation beneath it, which determines the project’s true scope. Testing a small area, using proper safety equipment, controlling dust, and inspecting the slab can help prevent surprises.
For homeowners and business owners in Cape Coral, Fort Myers, Bonita Springs, and nearby Southwest Florida communities, we provide tile removal, dust control, debris disposal, and preparation for a durable new floor. A complete quote explains the cost to remove tile, including labor, cleanup, and disposal. Contact a professional contractor before your renovation project begins. A clean slab is only the beginning, but it gives the next installation the sound foundation it needs.