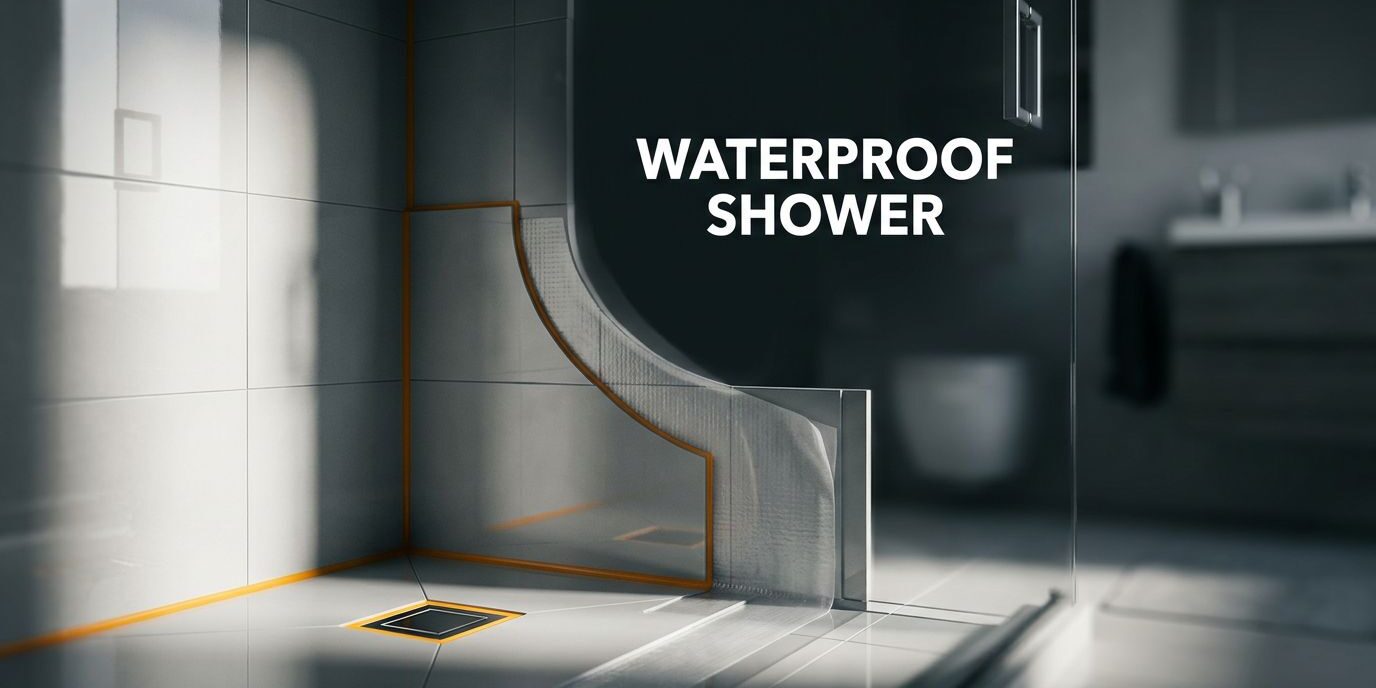
A beautiful shower can still fail if water reaches the framing behind the walls. When I inspect a bathroom remodel, I look past the tile first because effective shower waterproofing methods determine how well the entire project performs. My primary focus is on water damage prevention, as the structural integrity of your home depends on keeping moisture away from the studs and subfloor.
Tile and grout create the visible finish, but they are not the waterproof barrier. Using the right membrane, properly sealing corners, ensuring a correct drain connection, and performing careful testing are essential steps to protect your investment from leaks, mold, and expensive repairs.
Key Takeaways
- A shower requires an effective waterproofing membrane rather than relying solely on tile and grout to block moisture.
- Sheet membranes, liquid membranes, foam systems, and traditional liners can all work when installed correctly.
- Corners, niches, benches, plumbing penetrations, and the drain require special attention.
- A properly sloped shower pan must direct water toward the drain.
- I recommend choosing the system based on the layout, materials, schedule, and installer experience.
Why Shower Waterproofing Matters Before Tile Goes Up
Water finds small openings. It can move through cracked grout, unsealed corners, fastener holes, and gaps around plumbing fixtures. Once moisture reaches the wall cavity or subfloor, it can quickly lead to costly structural damage and significant mold and mildew growth. Even if the visible damage is not immediately apparent, the underlying substrate will eventually deteriorate if it remains exposed to persistent moisture.
A reliable shower system creates a continuous barrier across the pan and walls. This commitment to moisture management ensures the barrier connects correctly at every transition, including the drain, curb, corners, niches, benches, and plumbing penetrations. One weak connection can affect the integrity of the entire installation.
This is why I never treat waterproofing as an optional upgrade. It is an essential part of the shower structure. A high-quality tile installation deserves an equally careful foundation behind it.
The Tile Council of North America provides TCNA standards and technical information that help contractors select compatible materials and installation methods. Product manufacturers also publish detailed instructions, and those instructions matter because membranes, drains, sealants, and backer boards are not interchangeable in every system.
Tile keeps the water-facing surface attractive. Waterproofing keeps water from reaching the structure behind it.
In Southwest Florida, humidity and frequent bathroom use add to the need for careful planning. A guest bath, primary shower, rental property, or commercial restroom all require a system that matches the expected traffic and moisture exposure.
The Main Shower Waterproofing Methods
No single method fits every bathroom. I compare the shower design, substrate, drain type, and finish materials before recommending a system.
Sheet-Applied Waterproofing Membranes
Sheet membranes are flexible, bonded waterproof assemblies installed over a prepared substrate. The sheet membrane is bonded with thin-set mortar or an approved adhesive, depending on the product. Seams overlap or receive sealing tape, and preformed corners help protect common trouble spots.
This method gives the installer a visible, consistent sheet membrane across the shower walls and floor. It also works well with curbless showers when the pan and drain are planned correctly. Because the material is installed close to the tile surface, less water can travel through the setting bed.
These systems can provide a clean installation around niches, benches, and changes in plane. However, every seam must be treated correctly. A small gap at a corner or an incorrectly sealed fastener can compromise the barrier.
I often recommend these systems when the layout has several transitions and the installer has strong experience with that product family. The membrane, drain, corners, sealants, and thin-set mortar should come from compatible components or follow the manufacturer’s approved installation details.
Liquid-Applied Waterproofing Membranes
A liquid waterproofing membrane is brushed, rolled, or troweled onto the shower substrate. Once they cure, they form a continuous waterproof layer without many sheet seams. This can make them convenient around irregular corners, curved surfaces, niches, and plumbing penetrations.
The installation still requires precision. The liquid waterproofing membrane must reach the manufacturer’s required thickness, and the installer must allow enough drying time between coats. Applying a thin coat or covering damp material can leave weak areas that are not visible after the tile is installed.
Some products use a contrasting color between coats, which helps the installer confirm coverage. That detail is useful around corners, screw heads, benches, and other areas that receive extra attention.
These systems can fit complex layouts and repair work, but they depend heavily on surface preparation and application technique. I do not treat them as paint. They are part of a measured waterproofing process, not a quick coating applied at the last minute.
Foam Backer Boards and Complete Shower Systems
Foam shower boards combine a rigid panel with a waterproof surface. Many complete systems, such as the Schluter Kerdi system, also include a matching shower pan, curb, drain, niche, and bench components. The installer cuts the panels to fit, seals the joints, and connects each part according to the system instructions.
These systems can reduce the number of separate materials used in the shower. A prefabricated pan also provides a factory-formed slope, which can simplify the floor layout. The result can be especially helpful for curbless showers, accessibility upgrades, and remodels with limited space.
The benefit depends on accurate cutting and careful sealing. The board itself may be waterproof, but an unsealed joint or poorly connected drain can still create a leak. I also check that the framing supports the panels properly and that the finished wall remains flat enough for the selected tile.
Brands such as Schluter and wedi publish product-specific shower system information, including compatible drains and installation details. I recommend reviewing the Schluter shower system information before mixing components from different manufacturers.
Traditional PVC or CPE Shower Pan Liners
Traditional shower assemblies use a sloped mortar bed beneath a PVC pan liner. The shower pan liner connects to a clamping drain, folds into the corners, and rises up the walls. A second mortar bed is placed above it before the tile is installed.
This method has been used successfully for many years, but the details must be correct. The floor below the liner needs a pre-slope toward the drain, and the liner cannot have holes in vulnerable areas. Fasteners should not puncture the liner below the top of the curb. The clamping drain must also be carefully installed to ensure the weep holes remain clear so water can drain from the mortar bed.
The wall substrate also needs proper moisture protection. Cement backer board is not automatically waterproof. Depending on the design, the installer may use a moisture barrier behind the cement backer board or an approved surface membrane over it.
Traditional liners can be a practical choice, especially when the installer understands mortar bed construction and local requirements. They usually involve more layers and more drying time than some surface-applied systems, so the project schedule should account for that work.
How I Choose the Right Waterproofing System
I begin with the shower layout rather than the product brochure. A basic rectangular shower has different needs than a large curbless shower design that features a bench, niche, multiple body sprays, and a frameless glass enclosure.
The drain location also affects the decision. A curbless shower often requires careful coordination between the structural floor, finished floor height, pan slope, and drainage. If those elements are not planned before construction begins, the finished shower may have an awkward transition or poor water control.
Next, I consider the wall surface and tile size. Large-format tile needs a flat substrate to ensure a quality finish, while small mosaics require careful planning around the drain and slope. The membrane should support the selected tile installation method without creating excessive buildup.
The main questions I use include:
- Does the system match the substrate, shower drain, and pan?
- Can it handle the corners, niches, and benches in the design?
- Are the backer board, mortar, sealant, and membrane compatible?
- Does the installer know the manufacturer’s instructions?
- Will the finished floor drain completely without low spots?
- Is the system suitable for a primary residence, rental, hotel, or business restroom?
Budget matters, but waterproofing is not the place to choose materials based only on the lowest initial price. A properly installed system may cost more at the beginning, while a failed shower can require demolition, drying, structural repairs, and replacement tile.
Installation Details That Protect the Finished Shower
Good waterproofing starts before the membrane is installed. I inspect the framing, check that the walls are properly aligned, and confirm that the substrate is clean, sound, and ready for the selected product. Dust, loose material, and uneven surfaces can interfere with bonding.
The shower floor needs a consistent slope toward the drain to ensure an effective drainage system. Many installations use approximately 1/4 inch per foot, but the exact requirements depend on the system, local code, and drain design. A flat area can hold water, while a steep or uneven floor can create uncomfortable footing and difficult tile cuts.
Corners receive special care because two planes meet there. The same applies to wall-to-floor joints, shower curb edges, niches, benches, and valve openings. I use the approved corners, bands, sealants, and collars required by the waterproofing system instead of relying on ordinary caulk alone.
The drain connection is another major checkpoint. The membrane must integrate with the correct drain assembly so water cannot pass around the opening. A surface membrane generally needs a compatible bonding-flange drain, while a traditional liner uses a clamping drain.
Before tile installation, the shower pan is often subject to a flood test for about 24 hours, depending on the project and local requirements. The Florida Building Code website is a useful place to review current state construction information, but the local permitting authority and approved product instructions control the actual requirements for a remodel.
The most attractive tile cannot correct a missing slope, an unsealed penetration, or an improperly connected drain.
After the waterproofing passes inspection or testing, the tile installation can begin using the correct mortar and layout. Grout and sealant complete the visible surface, but they do not replace the membrane below.
Warning Signs of a Weak Shower Waterproofing Plan
I become cautious when a remodel proposal treats shower waterproofing as a single product rather than a complete, integrated system. Relying solely on a bucket of liquid waterproofing membrane is rarely enough, as it fails to explain how the drain, corners, curb, or wall penetrations will be handled to ensure a watertight seal.
Other common concerns include a shower floor that lacks a clear slope, cement board installed without a moisture management strategy, fasteners driven through a liner near the curb, and a schedule that pushes for tile installation before the pan has been properly flood tested.
I also pay close attention to which products are being used together. Mixing a drain from one manufacturer, a membrane from another, and a sealant from a third often fails to create a tested, compatible assembly. A professional installer should be able to clearly explain the materials, surface preparation, installation sequence, and testing procedures without providing vague answers.
For homeowners and business owners, documented details help protect the project. The proposal should clearly identify the chosen waterproofing method, the specific shower pan type, the drain assembly, the wall substrate, the required testing process, and who carries the responsibility for correcting leaks or installation defects. By verifying these elements before work begins, you ensure the long-term integrity of your bathroom remodel.
Frequently Asked Questions
Is tile and grout considered waterproof?
No, tile and grout are not waterproof barriers. While they provide a finished surface, moisture can easily penetrate through grout lines and cracked tiles, which is why a separate waterproofing membrane must be installed behind the tile to protect the wall and floor structure.
Why do I need to perform a flood test?
A flood test is a critical step that involves filling the shower pan with water for 24 hours to ensure there are no leaks before tile is installed. It confirms that the membrane, drain connection, and corners are sealed properly, preventing hidden water damage that would be expensive to fix later.
Can I mix and match products from different brands?
It is strongly recommended to use a complete system from a single manufacturer, such as their specific membrane, drain, and sealants. Mixing components can lead to compatibility issues, void manufacturer warranties, and create weak points where water could potentially bypass the protection system.
What is the advantage of using foam backer boards?
Foam backer boards provide a lightweight, rigid, and pre-waterproofed substrate that simplifies installation and reduces the risk of errors associated with traditional backer boards. Many systems also include matching components like benches and pre-sloped pans, ensuring a cohesive and watertight assembly.
Conclusion
The right shower waterproofing methods protect much more than the tile surface. They are the essential line of defense for water damage prevention, ensuring that moisture stays away from your framing, subfloor, and the surrounding walls of your bathroom. By investing in high-quality materials and professional installation, you also effectively minimize the risk of mold and mildew growth that can compromise your home environment over time.
I recommend choosing a complete system that matches your specific shower design, then giving equal attention to the slope, corners, penetrations, and the drain. When those critical details are handled by an experienced tile professional, your remodel gains a strong foundation that guarantees both lasting performance and a beautiful finished result.